
Calathea Orbifolia is a stunning houseplant known for its large, round, and striped leaves that bring a touch of elegance to any indoor space. However, this tropical beauty requires specific care to thrive. If you’re looking to keep your Calathea Orbifolia happy and healthy, you’ve come to the right place! This comprehensive checklist will guide you through everything you need to know to ensure your plant flourishes in your home.
I’ve provided detailed information in the article below to help with your concerns, However, if you still have questions or need more help, feel free to share photos of your plants or describe your issue on our Facebook Group. Just join the group and leave a comment on the most recent post — either I or someone from the community will respond as soon as possible. We also share helpful and unique plant care tips daily, so consider joining the group to stay updated!
1. Choosing the Right Spot
Finding the perfect location for your Calathea Orbifolia is crucial. Here’s what you need to consider:
- Indirect Light: Bright, indirect light is best for this plant. Direct sunlight can scorch its delicate leaves, causing them to fade or develop brown patches. If your home doesn’t have enough natural light, you can use artificial grow lights to supplement.
- Avoid Drafts: Keep it away from air conditioners, heaters, and cold drafts. Sudden temperature changes can stress the plant, leading to curling or drooping leaves.
- High Humidity Area: Bathrooms or kitchens can be great spots due to their naturally higher humidity levels. If you place your plant in another room, consider using humidity-enhancing methods to keep it comfortable.
2. Watering Needs
Watering your plant correctly is key to its survival. Follow these tips:
- Use Filtered or Distilled Water: Tap water may contain minerals, chlorine, or fluoride that can cause brown leaf tips. If you must use tap water, let it sit out overnight to allow some chemicals to dissipate.
- Keep the Soil Moist but Not Soggy: Water when the top inch of soil feels dry. Insert your finger into the soil—if it feels dry up to your first knuckle, it’s time to water.
- Avoid Overwatering: Root rot is a common issue if the plant sits in excess water. Always ensure your pot has drainage holes.
- Water in the Morning: This allows the plant to absorb moisture before temperatures rise. Morning watering also reduces the risk of fungal growth from prolonged moisture exposure at night.
3. Ideal Humidity Levels
Calathea Orbifolia thrives in a humid environment. Here’s how to maintain the right levels:
- Use a Humidifier: A consistent humidity level of 50-70% is ideal. If your home is dry, especially in winter, a humidifier can be the best solution.
- Misting: Lightly mist the leaves to maintain moisture. However, be careful not to overdo it, as excessive moisture can lead to fungal problems.
- Pebble Tray Method: Place a tray filled with pebbles and water beneath the plant to increase humidity naturally. As the water evaporates, it creates a more humid environment around the plant.
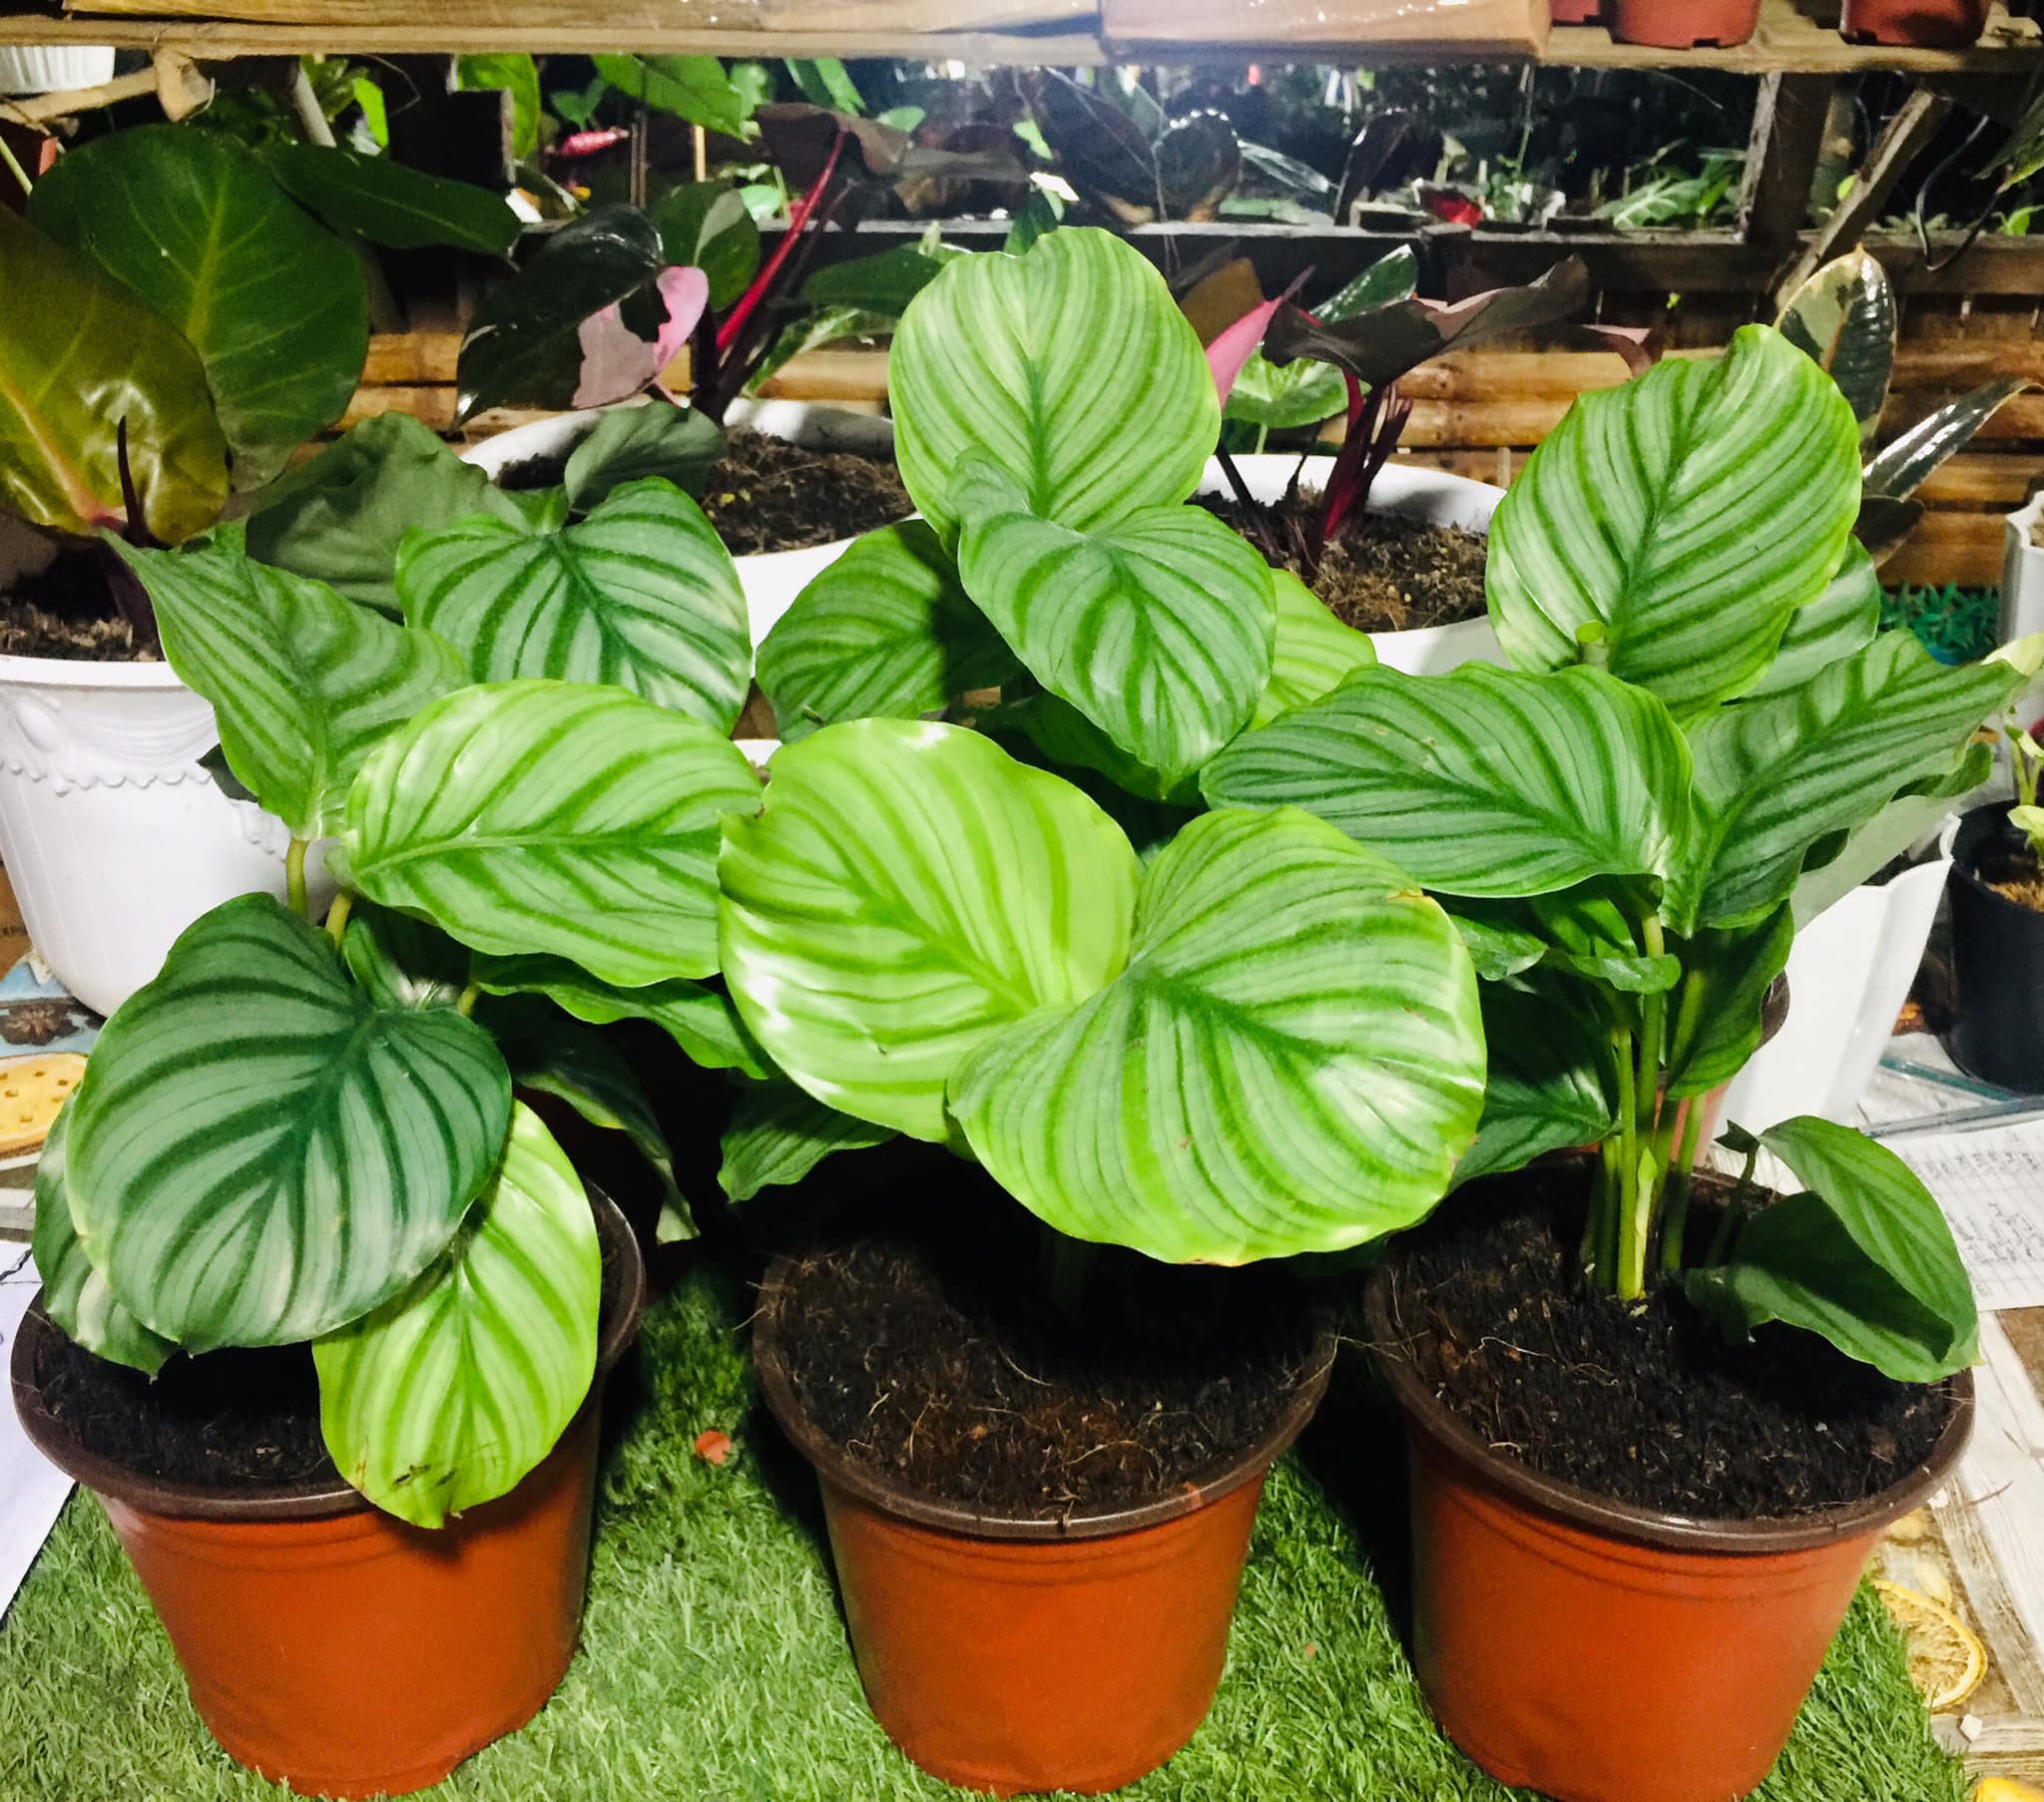
- Group Plants Together: Keeping multiple humidity-loving plants near each other helps create a microclimate with higher humidity.
4. The Right Soil Mix
The right soil ensures proper drainage and aeration:
- Well-Draining Soil: A mix of potting soil, perlite, and orchid bark works well. This combination retains moisture while preventing excessive water retention.
- Peat-Based Soil: Helps retain moisture without becoming too compact. Coconut coir is a good alternative if you prefer a more sustainable option.
- Avoid Clay-Like Soil: Heavy soils can cause water retention and root rot. Always check that your soil remains loose and airy.
5. Temperature Requirements
Keeping the temperature stable is essential:
- Optimal Range: 65-75°F (18-24°C) is ideal. Your plant will thrive in warm, consistent conditions.
- Avoid Sudden Temperature Changes: Drastic fluctuations can stress the plant, leading to leaf curling or browning.
- No Cold or Hot Drafts: Keep it away from open windows in winter and direct heat sources in summer. Drafts can cause temperature stress, making the leaves lose their vibrant look.
6. Fertilizing Schedule
A well-fed Calathea Orbifolia is a happy one!
- Use a Balanced Liquid Fertilizer: Feed once a month during the growing season (spring and summer). Look for a fertilizer with equal parts nitrogen, phosphorus, and potassium (N-P-K ratio like 10-10-10 or 20-20-20).
- Dilute the Fertilizer: Always use half-strength to prevent overfeeding. Too much fertilizer can cause salt buildup in the soil, leading to leaf burn.
- Stop in Fall and Winter: The plant’s growth slows, so extra nutrients aren’t needed. Over-fertilizing during dormancy can do more harm than good.
7. Potting and Repotting Tips
Knowing when and how to repot your plant ensures its continued growth:
- Repot Every 1-2 Years: Helps refresh the soil and provide more space for root growth. Check if the roots are starting to outgrow the pot before repotting.
- Use a Pot with Drainage Holes: Prevents water from sitting at the bottom and causing root rot.
- Repot in Spring: The best time for minimal stress on the plant. This gives it the growing season to adjust to its new environment.
8. Dealing with Common Issues
Calathea Orbifolia is sensitive, so be on the lookout for these problems:
Yellowing Leaves
- Often caused by overwatering or poor drainage.
- Adjust watering habits and check for root rot.
Crispy or Brown Leaf Edges
- Usually due to low humidity or fluoride in tap water.
- Increase humidity and use distilled water.
Drooping Leaves
- A sign of dehydration or improper lighting.
- Adjust watering and ensure the plant gets bright, indirect light.
Pest Infestation (Spider Mites, Aphids, Mealybugs)
- Wipe leaves with a damp cloth regularly.
- Use neem oil or insecticidal soap as a preventive measure.
9. Cleaning and Pruning
Keeping the leaves clean ensures better photosynthesis and health:
- Wipe Leaves Weekly: Use a damp cloth to remove dust and maintain the plant’s ability to absorb light.
- Trim Damaged Leaves: Use sterilized scissors to cut off yellow or brown leaves to encourage new growth.
- Encourage New Growth: Pruning helps stimulate healthier foliage by removing old, damaged leaves.
10. Propagation Tips
Although Calathea Orbifolia is not easily propagated, you can try:
- Division Method: During repotting, gently separate a healthy portion with roots attached.
- Replant in Moist Soil: Keep it in a warm, humid environment for best results.
- Be Patient: It takes time for new plants to establish, but with proper care, they will eventually grow into full plants.