
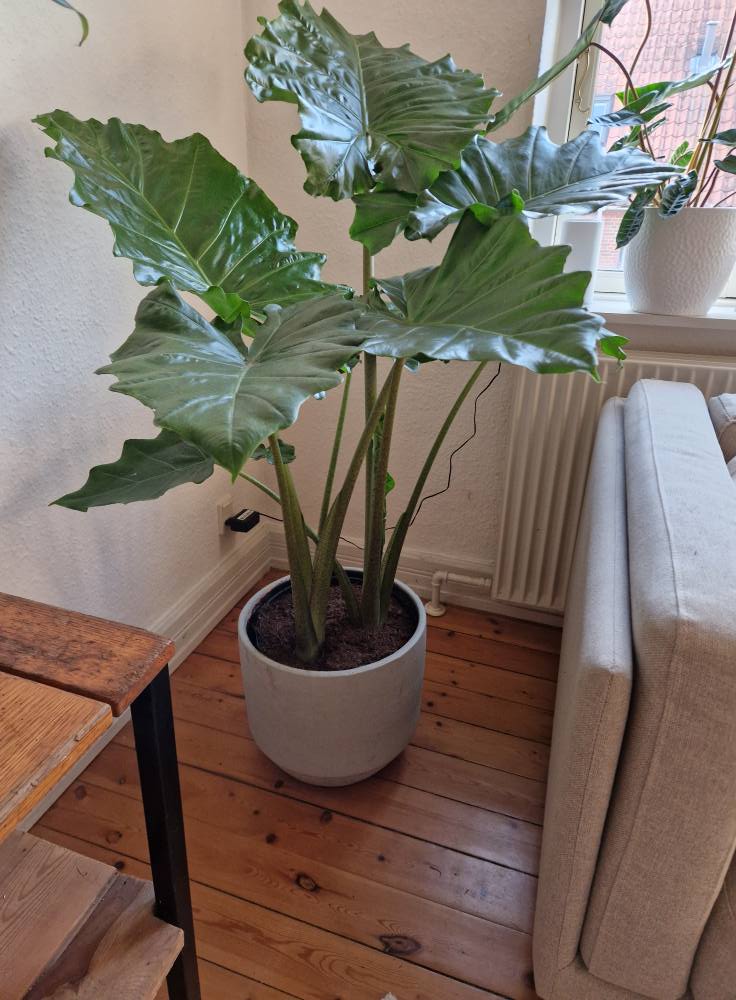
With its dramatic, oversized leaves and tropical charm, Alocasia Odora, also known as the Night-Scented Lily, is a stunning houseplant that brings a touch of the exotic into any space. If you are a beginner looking to add a bold statement to your collection, this guide will walk you through everything you need to know about caring for Alocasia Odora. From lighting and watering needs to soil selection and common issues, let’s go into the essentials of keeping this beauty thriving.
I’ve provided detailed information in the article below to help with your concerns, However, if you still have questions or need more help, feel free to share photos of your plants or describe your issue on our Facebook Group. Just join the group and leave a comment on the most recent post — either I or someone from the community will respond as soon as possible. We also share helpful and unique plant care tips daily, so consider joining the group to stay updated!
Understanding Alocasia Odora
Let’s get to know Alocasia Odora a little better.
What Makes Alocasia Odora Special?
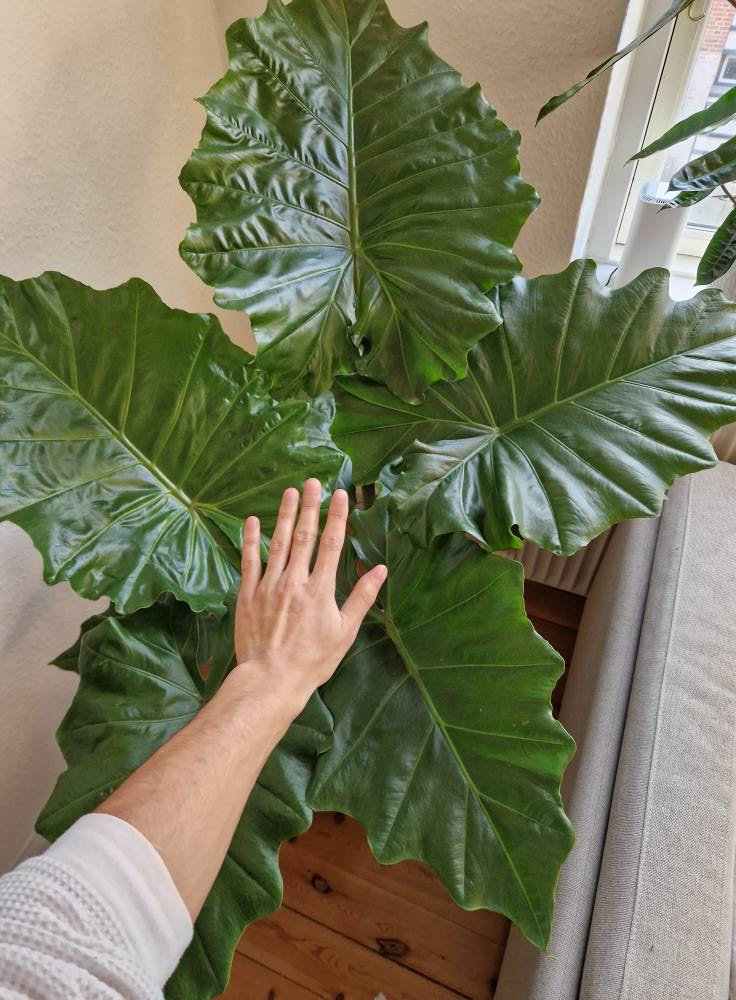
- Large, Elephant Ear Leaves: Its broad, glossy green leaves resemble elephant ears, adding a tropical vibe to any room. These leaves can grow up to 2-3 feet in length, making them a stunning focal point.
- Fragrant Night Blooms: Though rare indoors, Alocasia Odora can produce small, white, or pale green flowers with a delightful fragrance at night, making it a unique addition to any collection.
- Air-Purifying Properties: Like many other houseplants, Alocasia Odora helps improve indoor air quality by filtering toxins and releasing oxygen.
- Fast Growth: Under ideal conditions, this plant can grow rapidly, producing new leaves frequently and reaching impressive heights.
Native Habitat
Alocasia Odora originates from Southeast Asia, particularly in countries like China, Vietnam, and the Philippines. It thrives in tropical rainforests, where it grows in warm, humid environments with dappled sunlight. Mimicking these conditions indoors is key to its successful growth.
How to Care for Alocasia Odora
1. Light Requirements
How much sunlight does Alocasia Odora need?
- Prefers bright, indirect light to thrive and maintain healthy growth.
- Can tolerate some direct morning sun, but prolonged exposure to harsh afternoon sunlight may scorch the leaves and cause them to develop brown patches.
- If grown in low light, the plant may become leggy, with fewer leaves, and may struggle to grow properly.
- Using sheer curtains or placing the plant near an east- or north-facing window can help provide the right balance of light.
- If natural light is limited, consider using grow lights to supplement its needs, especially during winter months.
2. Watering Schedule
How often should you water Alocasia Odora?
- Keep the soil consistently moist but not waterlogged, as this plant is sensitive to overwatering.
- Water when the top 1-2 inches of soil feel dry to the touch. A good rule of thumb is to check the soil every few days, especially in warmer months.
- Reduce watering in winter, as the plant enters a dormant phase, slowing its growth and water consumption.
- Always use a pot with drainage holes to prevent standing water, which can lead to root rot.
Signs of overwatering:
- Yellowing leaves
- Mushy stems
- Foul-smelling or soggy soil
- Root rot (if roots appear black and mushy)
Signs of underwatering:
- Droopy leaves
- Crispy, brown leaf edges
- Slow or stunted growth
3. Ideal Temperature & Humidity
Alocasia Odora is a tropical plant that requires warm temperatures and high humidity to thrive.
- Ideal temperature range: 65-85°F (18-29°C). Avoid exposing it to temperatures below 50°F (10°C), as this can cause stress and leaf damage.
- Humidity: Prefers 60% or higher humidity to maintain lush foliage and prevent leaf crisping.
- Sudden temperature drops or cold drafts from air conditioners, fans, or windows can cause stress, leading to leaf loss.
How to increase humidity?
- Use a humidifier to maintain consistent humidity levels.
- Place the plant on a pebble tray with water, ensuring the pot is above the water level to avoid root rot.
- Mist the leaves occasionally, but avoid excessive misting to prevent fungal issues.
- Grouping plants together can help create a naturally humid microenvironment.
4. Best Soil Mix
Alocasia Odora thrives in well-draining, nutrient-rich soil that retains moisture without becoming waterlogged.
Recommended soil mix:
- 2 parts peat-based potting mix for moisture retention
- 1 part perlite to improve drainage and aeration
- 1 part orchid bark or coconut coir to enhance aeration and mimic the plant’s natural habitat
This combination helps create a light, airy, and well-draining soil mix that prevents root rot while keeping the plant adequately hydrated.
5. Fertilizing Routine
How often should you fertilize?
- Feed every 2-4 weeks during spring and summer, when the plant is actively growing.
- Use a balanced liquid fertilizer with an equal N-P-K ratio, such as 10-10-10 or 20-20-20.
- Reduce feeding in fall and winter when the plant enters dormancy to prevent over-fertilization.
- Avoid applying fertilizer to dry soil, as this can cause root burn—always water the plant before feeding.
6. Repotting Guidelines
When should you repot Alocasia Odora?
- Repot every 1-2 years, or when roots start growing out of the drainage holes.
- Choose a pot 1-2 inches larger than the current one to allow for continued growth.
- Use fresh, well-draining soil to refresh nutrients and prevent compacted soil issues.
7. Pruning & Maintenance
- Trim yellow or damaged leaves to redirect energy to new growth.
- Wipe leaves with a damp cloth to remove dust and promote photosynthesis.
- Regularly check for pests and treat infestations early.
Common Problems & Solutions
1. Yellowing Leaves
Cause: Overwatering, poor drainage, or nutrient deficiencies. Solution: Adjust watering habits and check soil drainage.
2. Leaf Drooping
Cause: Underwatering, low humidity, or temperature stress. Solution: Maintain proper watering and increase humidity levels.
3. Pests (Spider Mites, Aphids, Mealybugs)
Solution:
- Wipe leaves with neem oil or insecticidal soap.
- Regularly inspect the plant for infestations.
Propagation: How to Multiply Your Alocasia Odora
1. Division Method
Alocasia Odora is best propagated by rhizome division during repotting.
Steps:
- Gently remove the plant from its pot.
- Identify healthy rhizomes with roots.
- Separate them using a clean, sharp knife.
- Repot the divided sections into fresh soil.
- Water lightly and place in a warm, humid environment.