
Spider plants (Chlorophytum comosum) are among the most beloved houseplants, known for their air-purifying qualities, resilience, and stunning green foliage. However, like all plants, they can occasionally face challenges. One of the most common problems plant owners face is brown leaves on their spider plants. If you’ve noticed these unsightly brown tips or edges on your spider plant, don’t panic. It’s a sign that your plant is trying to tell you something, and with the right care, you can revive it. In this guide, we will walk you through six essential steps to restore the health of your spider plant and keep it thriving for years to come.
I’ve provided detailed information in the article below to help with your concerns, However, if you still have questions or need more help, feel free to share photos of your plants or describe your issue on our Facebook Group. Just join the group and leave a comment on the most recent post — either I or someone from the community will respond as soon as possible. We also share helpful and unique plant care tips daily, so consider joining the group to stay updated!
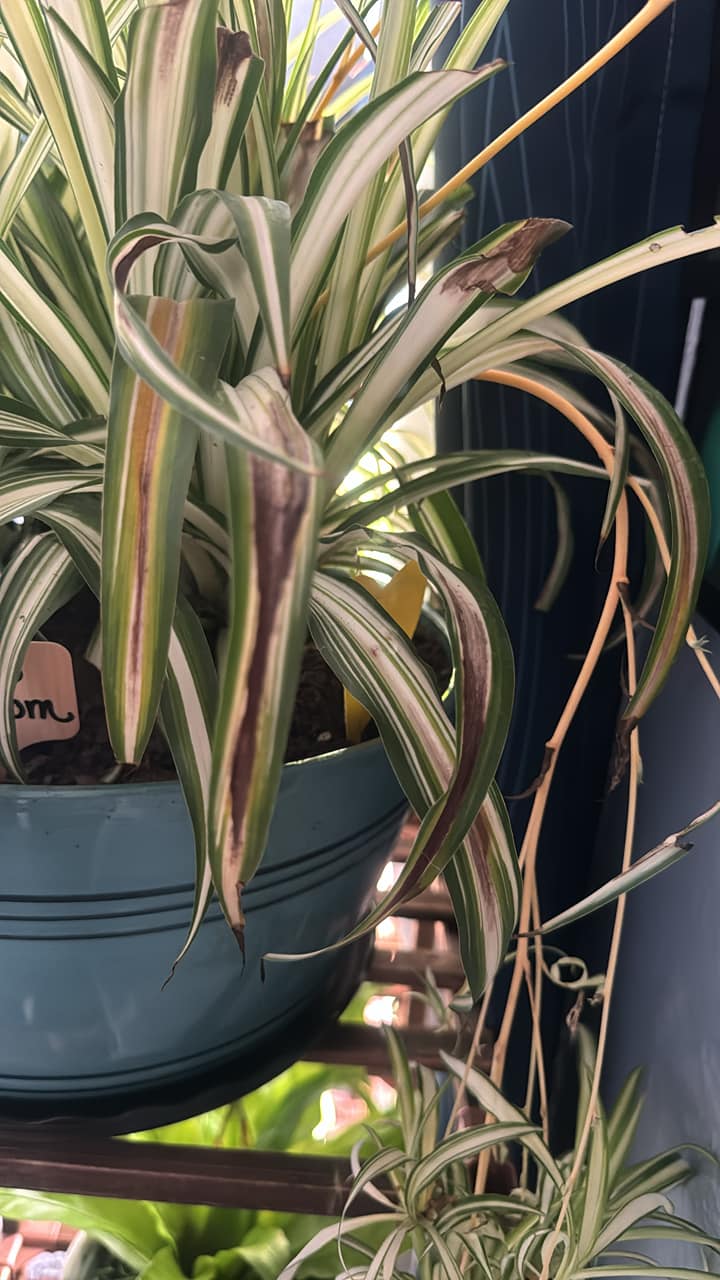
Why Are There Brown Leaves on Your Spider Plant?
Before jumping into the solutions, it’s important to understand why your spider plant’s leaves may be turning brown. There are several potential causes, ranging from environmental factors to improper care. These causes can include:
- Overwatering or underwatering
- Exposure to too much direct sunlight
- Nutrient deficiencies
- Low humidity or dry air
- Inconsistent watering practices
- Pest infestations
Now, let’s explore the six crucial steps to revive your spider plant when it’s showing signs of stress.
Step 1: Assess Your Watering Practices
Watering is one of the most common reasons for brown leaves on spider plants. Both overwatering and underwatering can lead to stress, but each causes different symptoms.
Signs of Overwatering:
- Brown tips or edges
- Soft, mushy roots (which can be seen if the plant is taken out of the pot)
- Mold or fungus growing on the soil surface
Signs of Underwatering:
- Crispy, dry leaf tips
- Leaves turning brown from the edges inwards
- Soil pulling away from the sides of the pot
How to Fix It:
- Overwatering: Ensure your spider plant’s pot has proper drainage. If the plant is waterlogged, remove it from the pot, trim any rotting roots, and allow it to dry out. Repot the plant in fresh, well-draining soil.
- Underwatering: Water the plant thoroughly, ensuring the water reaches the root system. Make sure the soil stays moist but not soggy. Check the plant regularly to prevent the soil from drying out completely.
Step 2: Check the Light Conditions
Spider plants thrive in bright, indirect light. If your plant is exposed to too much direct sunlight, the leaves can burn, leading to brown spots or tips. On the other hand, too little light can cause weak, leggy growth.
Signs of Too Much Sun Exposure:
- Brown, crispy patches on the leaves
- Sunburn-like damage on the leaf tips or edges
Signs of Insufficient Light:
- Spindly growth with long spaces between leaves
- Yellowing leaves or a general lack of vibrancy
How to Fix It:
- Adjust the Location: Move your spider plant to a spot with indirect, bright light. A few feet away from a window is ideal.
- Rotate the Plant Regularly: This ensures all sides of the plant receive equal exposure to light, encouraging balanced growth.
Step 3: Boost the Humidity
Spider plants are native to tropical and subtropical regions, which means they thrive in a humid environment. If your indoor air is too dry, especially in winter when heating systems are running, the plant can develop brown tips as a result.
Signs of Low Humidity:
- Dry, crispy leaf edges
- Leaf curling or browning at the tips
How to Fix It:
- Increase Humidity: Place a humidity tray (a shallow dish filled with water and pebbles) near the plant to boost moisture in the air. Alternatively, you can use a humidifier.
- Mist the Leaves: Lightly mist the leaves with water, but avoid soaking them, as excessive moisture can cause mold or rot.
Step 4: Provide Proper Nutrition
Nutrient deficiencies can lead to poor plant health, causing browning or yellowing of the leaves. Spider plants generally don’t require heavy feeding, but they do benefit from regular nourishment during the growing season (spring and summer).
Signs of Nutrient Deficiency:
- Yellowing or browning leaves
- Slow growth or stunted development
- Pale leaf color
How to Fix It:
- Use a Balanced Fertilizer: Apply a balanced, water-soluble fertilizer every 4-6 weeks during the growing season. Choose a fertilizer that’s rich in nitrogen for healthy green growth.
- Avoid Over-Fertilizing: Too much fertilizer can harm the plant. Stick to the recommended dosage to avoid nutrient burn.
Step 5: Remove Damaged Leaves
When leaves start to turn brown or yellow, it’s a good idea to trim them off. Not only does this improve the overall appearance of your plant, but it also prevents the spread of disease and allows the plant to focus its energy on healthier growth.
How to Trim Brown Leaves:
- Use Sharp Scissors or Shears: Clean your tools before cutting to avoid transmitting diseases.
- Cut Near the Base: Trim the brown leaves at the base, close to the main stem or crown, leaving the healthy parts intact.
- Avoid Cutting Too Much: Don’t remove too many leaves at once, as this can stress the plant. Leave enough foliage to maintain healthy photosynthesis.
Step 6: Monitor for Pests
Pests can also contribute to browning leaves on your spider plant. Common culprits include spider mites, aphids, and mealybugs. These pests feed on the plant’s sap, weakening it and causing brown spots or other signs of distress.
Signs of Pest Infestation:
- Tiny webs on the plant (in the case of spider mites)
- Sticky residue or a sooty mold (due to aphids)
- White, cotton-like masses (in the case of mealybugs)
How to Fix It:
- Inspect Regularly: Examine the leaves and stems for signs of pests. Check the undersides of the leaves, as pests often hide there.
- Treat with Insecticidal Soap: If pests are detected, use insecticidal soap or neem oil to treat the plant. Gently wipe down the leaves with a soft cloth to remove any pests.
- Isolate the Plant: If the infestation is severe, isolate the plant from your other plants to prevent the pests from spreading.