
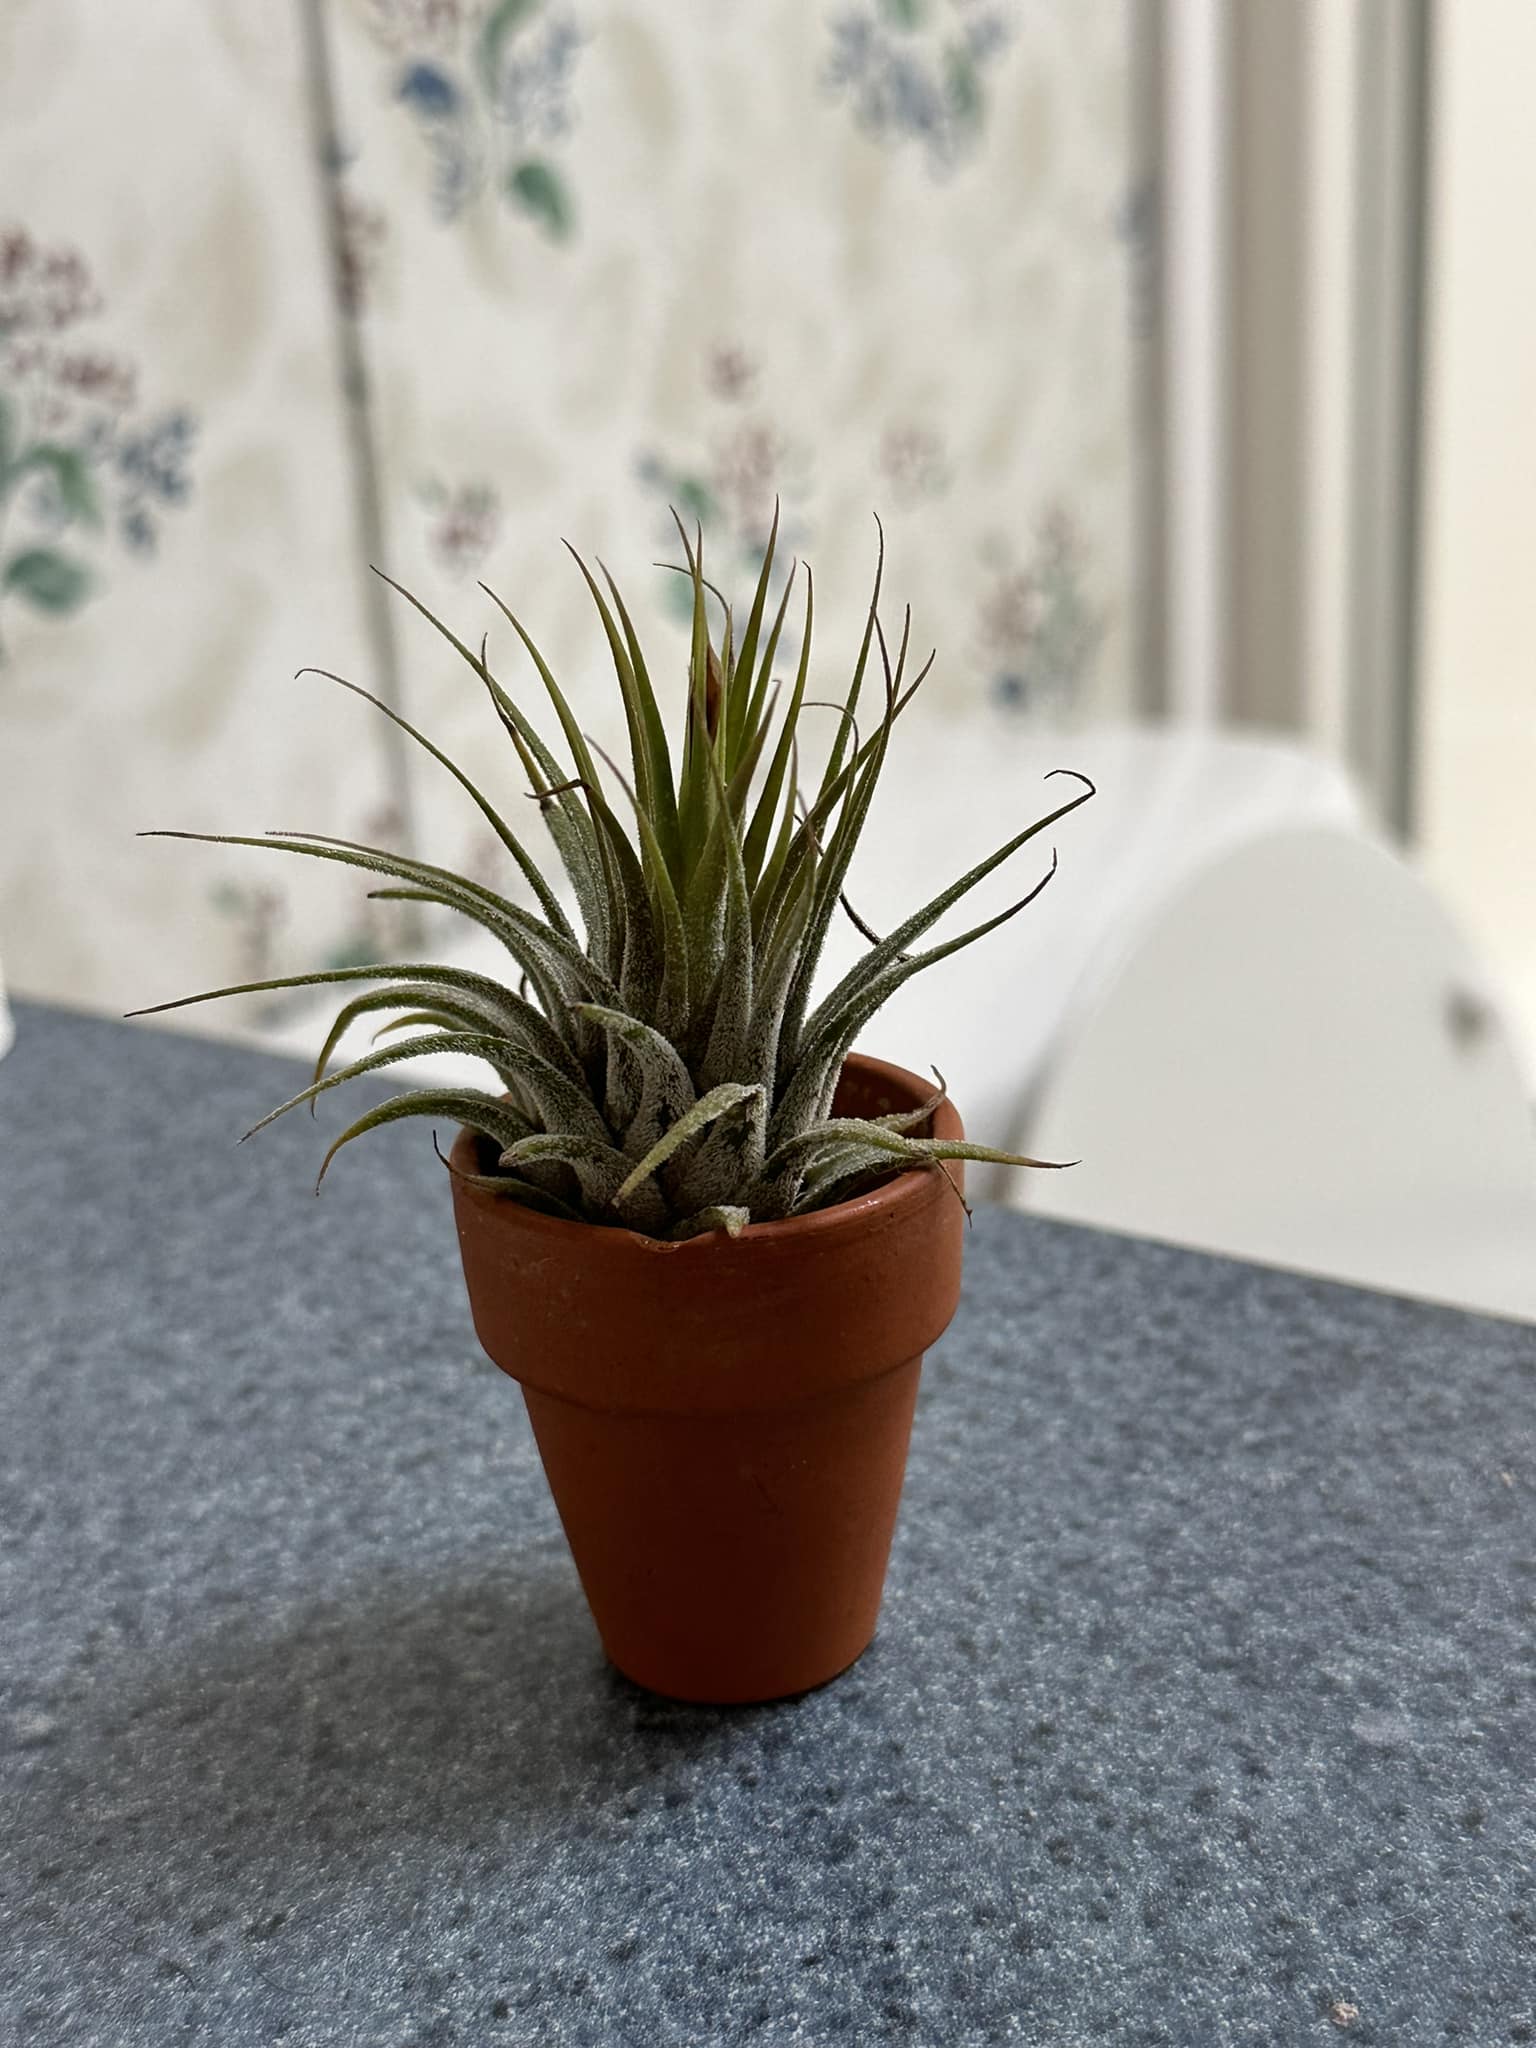
Air plants, also known as Tillandsia, are fascinating, low-maintenance plants that thrive without soil. Their unique ability to absorb nutrients from the air makes them a favorite among plant lovers. These resilient plants can grow in a variety of conditions and are perfect for those looking to expand their indoor garden with minimal effort. If you already have a few air plants and want to expand your collection, propagation is the way to go. But how can you successfully propagate air plants and ensure they flourish?
This guide will walk you through the step-by-step process, covering everything from identifying offshoots to caring for newly propagated plants. By following these detailed guidelines, you will be able to cultivate a healthy, thriving air plant collection while avoiding common pitfalls. Whether you are a seasoned air plant enthusiast or a beginner, this comprehensive guide will provide you with the necessary knowledge to propagate air plants successfully.
I’ve provided detailed information in the article below to help with your concerns, However, if you still have questions or need more help, feel free to share photos of your plants or describe your issue on our Facebook Group. Just join the group and leave a comment on the most recent post — either I or someone from the community will respond as soon as possible. We also share helpful and unique plant care tips daily, so consider joining the group to stay updated!
Understanding Air Plant Propagation
Air plants propagate primarily through pups, which are small offshoots that grow from the mother plant after it matures and blooms. Unlike traditional plants, they do not grow from seeds in typical home settings, as air plant seeds take years to develop into full-grown plants. Understanding the propagation process is essential to ensure that new plants have the best possible chance of survival.
When Do Air Plants Produce Pups?
- Air plants begin producing pups after reaching maturity, which usually takes one to three years, depending on the species and growing conditions.
- Pups typically form following the blooming phase—each air plant blooms once in its lifetime, after which it starts developing offshoots.
- Some species, such as Tillandsia ionantha, produce multiple pups at a time, while others, like Tillandsia xerographica, may develop just one or two.
- Environmental factors, including light exposure, humidity, and watering frequency, can influence the rate at which pups appear.
Why Propagate Air Plants?
Propagating air plants comes with several benefits, including:
- Expanding your collection without needing to purchase new plants.
- Maintaining plant health, as leaving too many pups attached to the mother plant can deplete its resources and lead to premature decline.
- Sharing with friends and family, making it an enjoyable and rewarding experience to pass on new plants to fellow enthusiasts.
- Encouraging diversity in displays, allowing you to experiment with different arrangements and growing techniques.
How to Propagate Air Plants Step by Step

1. Identifying Pups Ready for Separation
Before attempting to separate pups, it is crucial to determine whether they are mature enough to survive independently. Separating pups too early can lead to stunted growth or plant failure.
Signs That a Pup is Ready for Separation:
- The pup has reached at least one-third the size of the mother plant.
- It has a well-developed structure, including distinct leaves and a firm attachment to the base.
- The mother plant has slowed or stopped producing new pups, indicating that it is time for separation.
- The pup has begun to display independent growth characteristics, such as increased leaf development and water absorption ability.
2. Removing Pups from the Mother Plant
Once you’ve identified a mature pup, it is time to separate it from the mother plant carefully. Proper separation ensures that both the mother and pup remain healthy post-propagation.
Tools You’ll Need:
- Clean, sharp scissors or pruning shears to make precise cuts.
- Gloves (optional) to protect delicate hands from sharp leaves and to prevent damage to the plant.
- A soft, clean cloth or paper towel to handle the plants gently.
Step-by-Step Removal Process:
- Hold the mother plant firmly in one hand and the pup in the other to get a stable grip.
- Gently twist and pull the pup; in some cases, it may detach naturally without requiring cutting.
- If the pup is firmly attached, use clean scissors or shears to cut it away at the base, as close to the mother plant as possible without damaging either plant.
- Ensure that you do not damage the base of the pup, as this area is responsible for absorbing moisture and nutrients.
- Set the separated pup aside in a well-ventilated area to allow any cut areas to dry for a few hours before watering.
3. Caring for Newly Separated Pups
Newly separated pups require specific care to ensure healthy growth and adaptation to their new environment.
Key Care Tips:
- Soak the pup in room-temperature water for about 20–30 minutes to rehydrate and encourage root development.
- Allow it to dry completely before placing it in its new environment to prevent rot.
- Provide proper air circulation to avoid mold or fungal growth.
- Avoid direct sunlight for the first few weeks, as young plants are more sensitive to dehydration and sunburn.
4. Best Conditions for Growth
Air plants thrive when their environment mimics their natural habitat. Here’s how to create the ideal conditions:
Light Requirements
- Bright, indirect light is ideal for healthy growth and development.
- Avoid prolonged exposure to direct sunlight, as it can cause the leaves to dry out or scorch.
- If growing indoors, place the plants near a window with filtered light or use a full-spectrum grow light for consistent exposure.
Watering Routine
- Mist or soak new pups 2–3 times per week, adjusting frequency based on climate and humidity levels.
- Use non-chlorinated water such as rainwater, spring water, or dechlorinated tap water to avoid harmful chemicals.
- After watering, shake off excess water and place the plants in a well-ventilated area to dry completely.
Humidity and Airflow
- Maintain humidity levels between 50%–70% for optimal growth.
- Ensure good air circulation by placing plants in open spaces rather than enclosed terrariums.
5. Mounting and Displaying Your New Air Plants
Once your new air plants have established themselves, it’s time to display them creatively!
Creative Display Ideas:
- Arrange in hanging glass terrariums for a modern, airy aesthetic.
- Attach to wood, driftwood, or cork bark using non-toxic glue or wire.
- Place in shells, decorative holders, or wall-mounted displays to enhance visual appeal.
- Incorporate into vertical gardens or mounted plant arrangements for a living art piece.