
Boston ferns (Nephrolepis exaltata) have a timeless appeal that has graced homes, porches, and conservatories for generations. Their cascading, feathery fronds add elegance and a touch of tropical luxury wherever they grow.
But there’s a catch: Boston ferns can be dramatic. One minute they’re thriving, the next they’re dropping leaves or turning brown seemingly overnight.
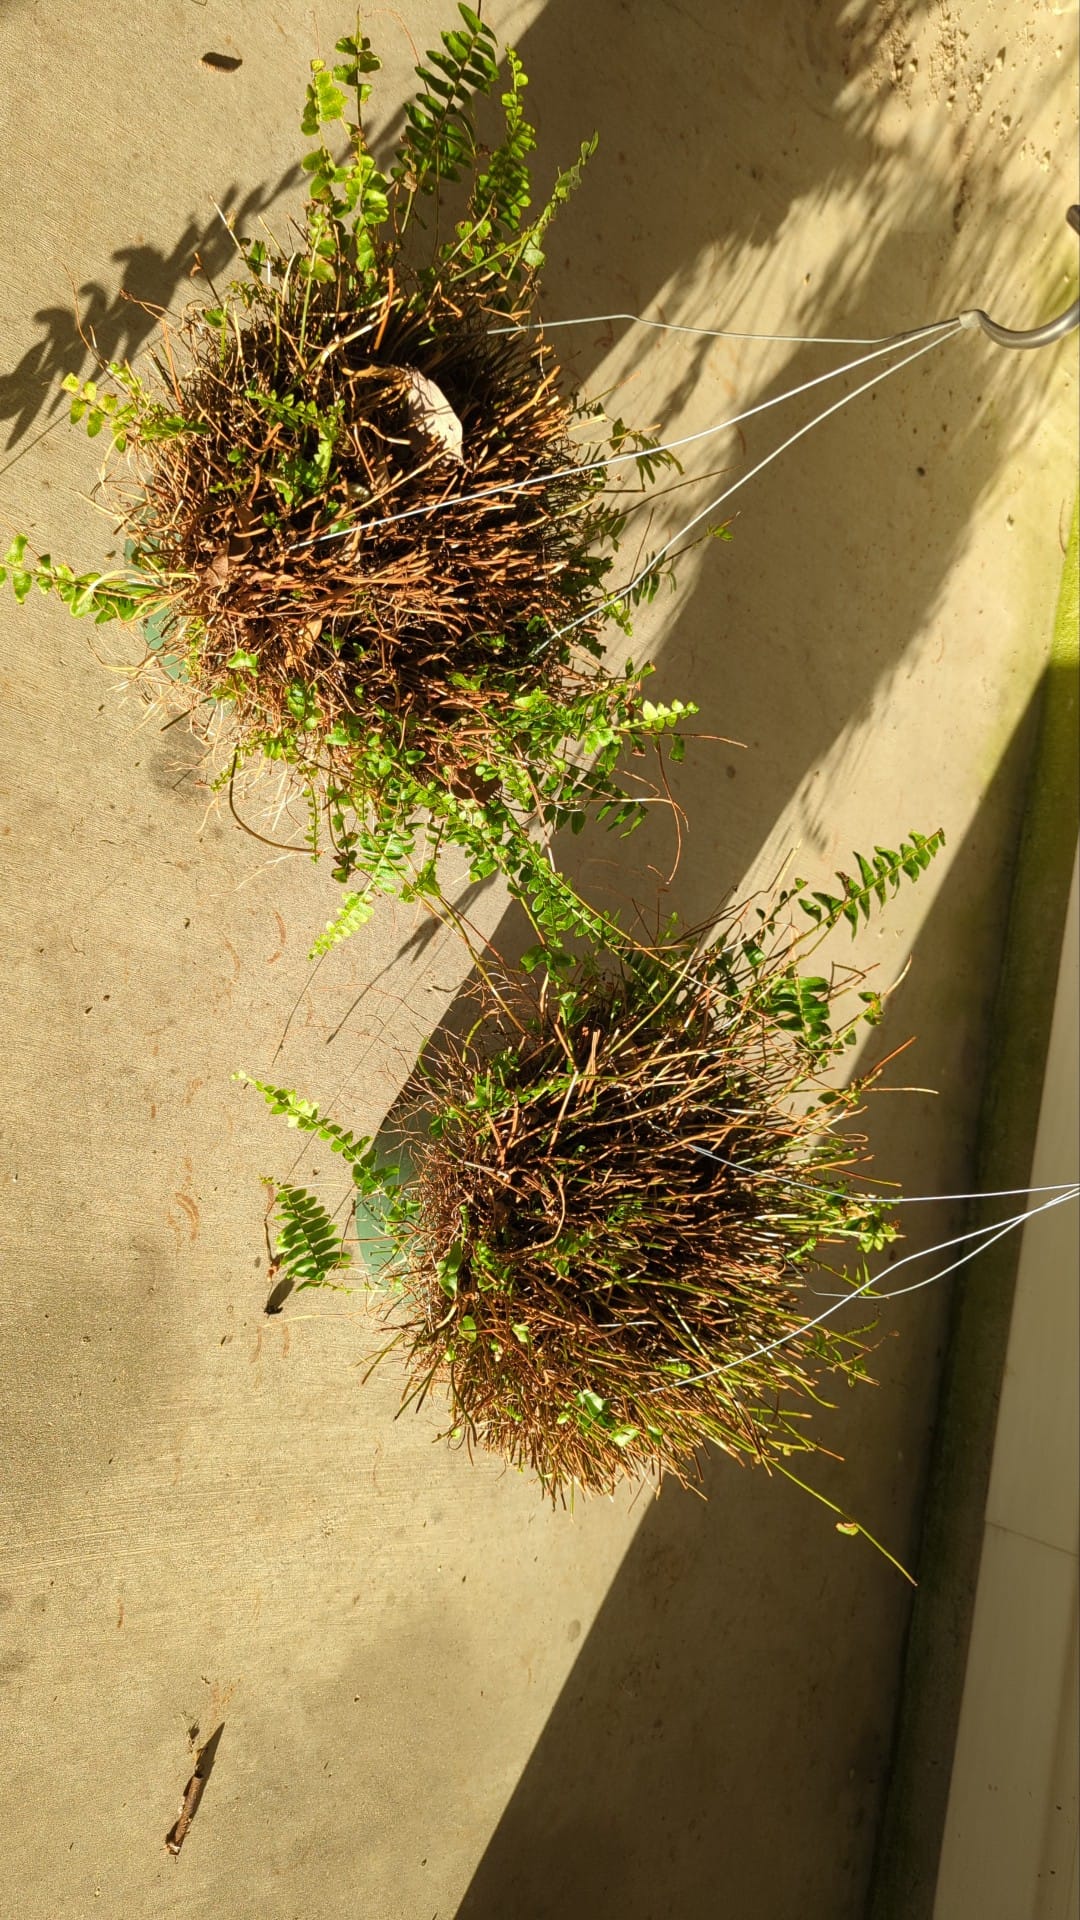
If your Boston fern is looking crispy, sparse, or lifeless, don’t panic. The good news is, these beautiful plants are surprisingly resilient if you know how to help them recover.
In this comprehensive guide, we’ll explore how to save a dying Boston fern: the secret to reviving your plant, with clear steps to diagnose problems and nurse your fern back to lush health.
Why Is My Boston Fern Dying?
Before reaching for the watering can—or tossing your plant into the compost—pause and figure out why your fern is struggling.
Common Causes of a Dying Boston Fern
Boston ferns are sensitive to their environment. The key problems they encounter include:
- Underwatering – Boston ferns despise dry soil. Even a few days too dry can trigger leaf drop.
- Overwatering – On the flip side, soggy soil suffocates roots, causing rot.
- Low Humidity – These plants hail from rainforests, so dry air causes browning and crisp edges.
- Poor Lighting – Too much direct sun burns leaves; too little stalls growth.
- Temperature Fluctuations – Cold drafts or blasts of hot air stress your fern.
- Nutrient Deficiency – Without essential nutrients, ferns can’t sustain healthy new fronds.
- Pests or Disease – Tiny pests like spider mites or fungal infections may lurk unnoticed until damage is severe.
Boston ferns wear their health on their fronds—so if yours looks sickly, it’s your plant’s way of crying for help.
Step 1: Diagnose the Problem
Don your metaphorical detective hat and inspect your fern closely.
Visual Clues to Watch For
- Yellowing leaves dropping off? Usually a watering issue or stress from environmental changes.
- Brown, crisp leaf tips? Dry air is the likely villain.
- Soft, dark, or mushy roots? A telltale sign of overwatering and potential root rot.
- Sparse growth, pale color? Often linked to low light or lack of nutrients.
- Webbing or sticky residue? Indicates pests like spider mites or scale insects.
Ask Yourself These Questions:
- How often am I watering my fern?
- Is my home’s air too dry—especially in winter?
- Does my fern get bright but indirect light?
- When did I last fertilize it?
- Do I see bugs, webs, or odd residue on leaves?
Your answers will shape your rescue plan.
Step 2: Evaluate Watering Practices
Watering mistakes are the number one cause of Boston fern distress.
How Much Water Does a Boston Fern Need?
Think of Boston ferns as Goldilocks plants—they want soil that’s not too dry and not too wet.
- Stick your finger into the soil. The top inch should feel barely dry before you water again.
- Water until you see moisture draining from the bottom of the pot.
- Discard any excess water in the saucer so roots don’t sit in it.
Underwatering Signs:
- Fronds feel papery and dry.
- Rapid leaf drop.
- Soil pulls away from the edges of the pot.
Overwatering Signs:
- Leaves wilt even though soil is wet.
- Soil has a musty smell.
- Roots appear black or mushy.
Tip: In cooler months, Boston ferns need less water because growth slows down.
Step 3: Increase Humidity
Boston ferns crave humidity like fish crave water.
Why Does Humidity Matter?
Indoors, especially during winter heating season, humidity can plummet below 30%. Your fern prefers 50–80% humidity to stay lush and green.
How Can I Raise Humidity for My Boston Fern?
- Use a Humidifier: Keeps a consistent humidity level.
- Pebble Trays: Fill a shallow tray with water and pebbles. Rest the pot on the pebbles so it’s above the waterline. Evaporation raises humidity around your plant.
- Group Plants Together: Clustering plants helps create a humid micro-environment.
- Misting: Mist lightly once or twice a day, but it’s only a short-term fix.
Consider a hygrometer to track humidity levels accurately.
Step 4: Check Light Conditions
Light is essential to photosynthesis, which fuels your fern’s growth.
What Kind of Light Does a Boston Fern Need?
- Prefers bright, indirect light.
- Direct sunlight scorches delicate fronds, leaving brown spots.
- Insufficient light causes leggy growth and sparse foliage.
An east-facing window is often perfect, offering gentle morning light without harsh afternoon rays. If natural light is lacking, supplement with an LED grow light positioned several inches above the plant.
Step 5: Inspect for Pests and Diseases
Even the healthiest-looking Boston fern can harbor invisible threats.
Common Fern Pests
- Spider Mites: Look for fine webbing and yellow speckling on leaves.
- Mealybugs: White, fluffy clumps at stem joints.
- Scale Insects: Hard, shell-like bumps that sap plant juices.
How to Treat Pests:
- Wipe leaves with a damp cloth to remove pests.
- Spray a solution of insecticidal soap (follow label instructions).
- Rinse the entire plant under a gentle shower if pests persist.
- Isolate your fern to avoid infecting other plants.
Signs of Disease:
- Soft, mushy roots.
- Foul odor from soil.
- Black spots on leaves (potential fungal infections).
If disease is suspected, remove affected parts, treat with a fungicide if necessary, and repot into fresh soil.
Step 6: Consider Repotting
Repotting can save a dying fern—especially if soil is compacted or roots are rotting.
When Should I Repot My Boston Fern?
- Roots growing out of drainage holes.
- Water drains too quickly, leaving soil bone-dry.
- Soil surface becomes crusty or discolored.
- Roots are mushy or dark brown.
How to Repot Your Fern:
- Choose a pot 1-2 inches larger than the current one.
- Use fresh, peat-based soil mixed with perlite for drainage.
- Remove the plant gently and shake off old soil.
- Trim away rotted roots.
- Replant at the same depth as before.
- Water lightly and keep out of direct sun for a few days.
Step 7: Fertilize with Care
Fertilizer is helpful—but too much can harm your fern more than help.
How Often Should I Fertilize My Boston Fern?
- Spring/Summer (active growth): Feed monthly with a balanced, water-soluble fertilizer diluted to half strength.
- Fall/Winter: Fertilize sparingly or not at all.
Signs of over-fertilizing include scorched leaf tips and salt build-up on soil.
Step 8: Prune and Groom Your Fern
A little grooming goes a long way.
- Trim Dead Fronds: Cut dead leaves at the base to encourage new growth.
- Remove Brown Tips: Snip off dry tips if only the ends are damaged.
- Clean Leaves: Gently wipe dust off leaves with a damp cloth to help photosynthesis.
Regular grooming helps keep your fern looking lush and tidy.
Bonus Tip: Consider Your Pot Size
Boston ferns dislike cramped roots but also don’t like enormous pots.
How Do I Know If My Fern Is Rootbound?
- Roots spiraling around the inside of the pot.
- Water drains rapidly through soil.
- Stunted growth even with proper care.
If your fern is rootbound, it’s time for a new home slightly larger than the old one.
A Secret Weapon: Soaking Baths
When a fern is extremely dehydrated, a soaking bath can work wonders.
How to Give Your Fern a Bath:
- Fill a sink or basin with lukewarm water.
- Submerge the pot until bubbles stop rising (about 10-15 minutes).
- Let the pot drain thoroughly before returning it to its spot.
This technique helps rehydrate soil completely and revives drooping fronds.
The Secret to Reviving Your Plant: Patience and Consistency
So what’s the real secret behind how to save a dying Boston fern?
It’s not magic—it’s patience and consistency.
These plants thrive on stable care routines. Frequent changes in watering, humidity, or light can shock your fern and slow recovery. Stay observant, adjust slowly, and give your fern time to bounce back.