
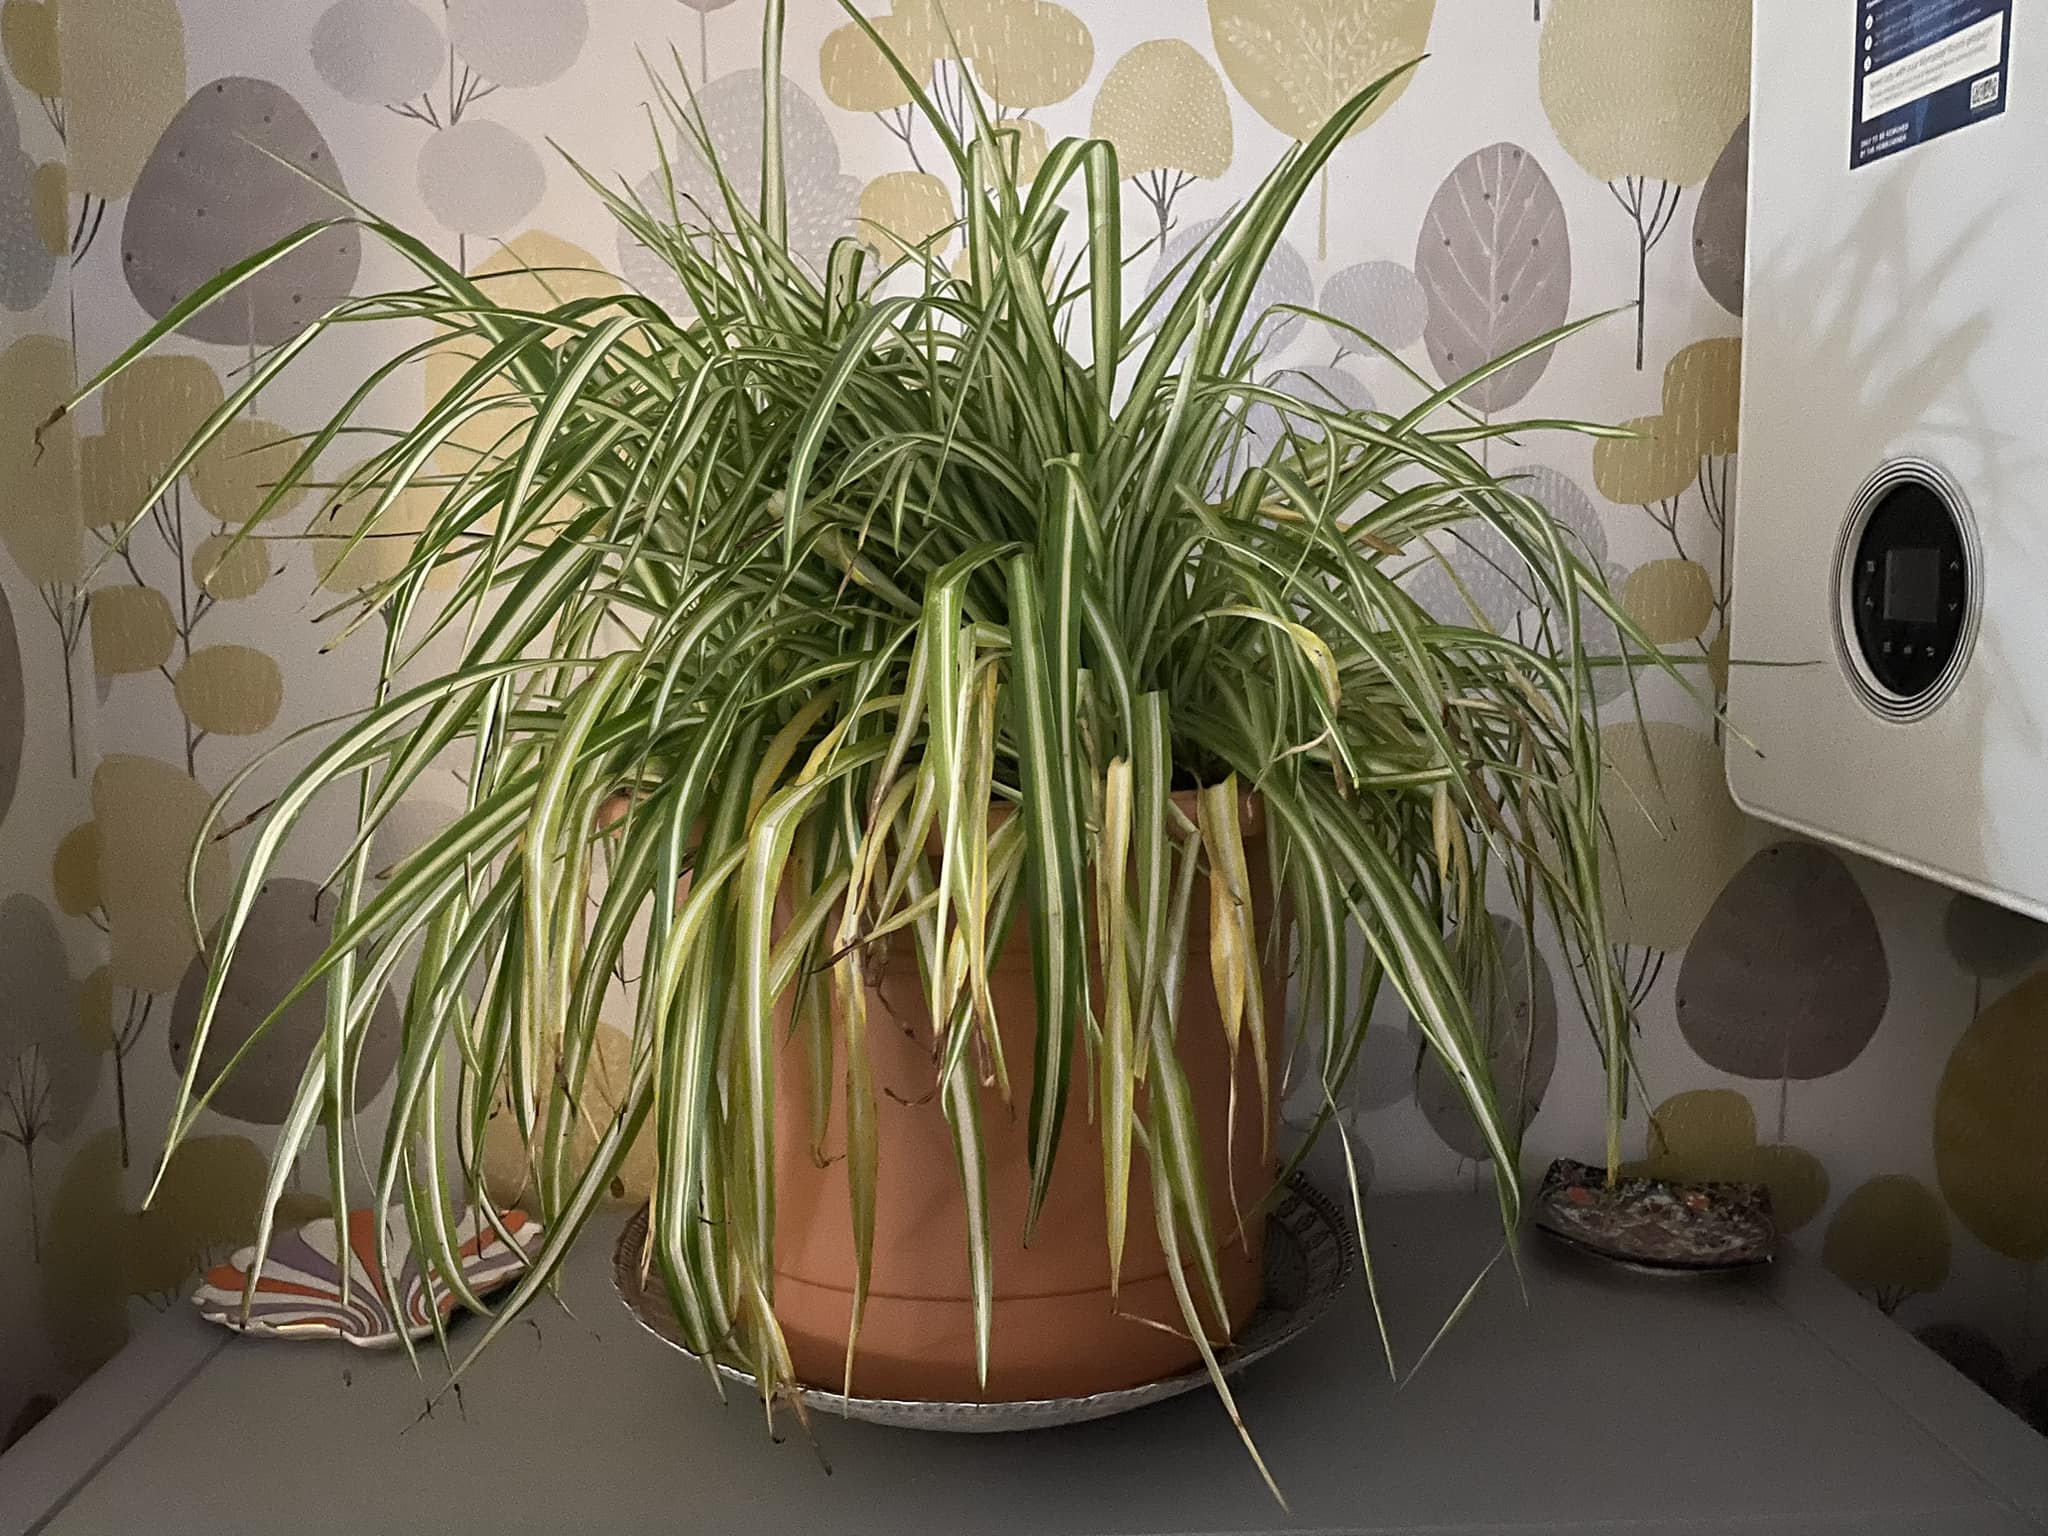
Spider plants (Chlorophytum comosum) are one of the most resilient and low-maintenance houseplants, making them a favorite among plant lovers. However, if you’ve noticed yellow leaves on your spider plant, it’s a sign that something is wrong. While this may seem alarming, don’t panic! Your spider plant can bounce back to its lush, vibrant self with the right care.
In this guide, we’ll explore why your spider plant’s leaves are turning yellow and the six essential steps to revive it. By understanding these issues and addressing them correctly, you’ll ensure your plant thrives for years to come.
I’ve provided detailed information in the article below to help with your concerns, However, if you still have questions or need more help, feel free to share photos of your plants or describe your issue on our Facebook Group. Just join the group and leave a comment on the most recent post — either I or someone from the community will respond as soon as possible. We also share helpful and unique plant care tips daily, so consider joining the group to stay updated!
Why Are Your Spider Plant’s Leaves Turning Yellow?
Before jumping into the solutions, it’s essential to understand what’s causing the issue. Several factors can contribute to yellowing leaves, including:
- Overwatering or Underwatering – Too much or too little water can stress the plant.
- Poor Drainage – Waterlogged soil can lead to root rot.
- Lighting Issues – Too much direct sunlight or insufficient light can cause discoloration.
- Nutrient Deficiencies – Lack of essential nutrients like nitrogen can result in yellowing leaves.
- Pest Infestations – Spider mites or other pests may be damaging the foliage.
- Aging Leaves – Older leaves naturally turn yellow and fall off.
Now that we understand the possible causes, let’s get to the solution! Follow these six steps to bring your spider plant back to life.
6 Steps to Revive Your Spider Plant
1. Check Your Watering Routine
One of the most common causes of yellowing leaves is improper watering. Spider plants prefer slightly moist soil but do not tolerate standing water.
How to Fix It:
- Water your plant when the top inch of soil feels dry. Stick your finger in the soil—if it’s dry up to your first knuckle, it’s time to water.
- Use room-temperature, filtered water to avoid chlorine and fluoride buildup, which can harm your plant.
- Reduce watering during the winter months when growth slows down, as overwatering in cold months can cause root rot.
- If overwatering is the issue, let the soil dry out completely before watering again, and consider repotting if the roots have started to rot.
2. Improve Drainage and Soil Quality
Poor drainage can lead to root rot, which results in yellow leaves and a struggling plant. Ensuring proper soil and pot conditions will prevent excess moisture from harming your spider plant.
How to Fix It:
- Ensure your pot has sufficient drainage holes to allow excess water to escape.
- Use a well-draining soil mix, such as a blend of peat, perlite, and compost, to provide aeration and proper water retention.
- If your plant sits in soggy soil, repot it immediately with fresh, well-draining soil to prevent further root damage.
- Consider using a terra cotta or clay pot, which helps wick away excess moisture compared to plastic pots.
3. Adjust the Lighting Conditions
Lighting plays a crucial role in keeping your spider plant healthy. Too much direct sunlight can scorch the leaves, while too little light can weaken the plant and lead to yellowing.
How to Fix It:
- Place your spider plant in bright, indirect light. A spot near an east- or north-facing window is ideal.
- Avoid placing it in direct sunlight for long hours, as excessive exposure can cause leaf burn.
- If your home has limited natural light, consider using a grow light to supplement the light requirements.
- Rotate your plant every couple of weeks to ensure all sides receive equal light exposure, preventing uneven growth.
4. Provide Proper Nutrients
Yellow leaves can also be a sign of nutrient deficiencies. Spider plants need a balanced diet of essential minerals to maintain their vibrant green color.
How to Fix It:
- Feed your plant with a balanced liquid houseplant fertilizer once a month during the growing season (spring and summer) to encourage healthy growth.
- Avoid over-fertilizing, as excessive nutrients can lead to salt buildup in the soil, causing leaf burn.
- If using tap water, allow it to sit overnight to reduce fluoride, which can cause brown leaf tips and discoloration.
- Consider using an organic compost tea or fish emulsion as a natural fertilizer to improve soil health and nutrient availability.
5. Check for Pests and Diseases
Pests like spider mites, aphids, and mealybugs suck nutrients from the leaves, leading to yellowing and poor plant health. Regularly checking for infestations can prevent serious damage.
How to Fix It:
- Inspect the leaves, especially underneath, for tiny bugs, webbing, or sticky residue, which are signs of pests.
- Wipe the leaves with a damp cloth or a mixture of mild soap and water to remove pests manually.
- Use neem oil or insecticidal soap to treat infestations naturally without harming your plant.
- If the infestation is severe, consider quarantining the affected plant from others to prevent the spread of pests.
- Keep the leaves clean and dust-free, as dusty leaves attract pests and reduce the plant’s ability to photosynthesize.
6. Prune and Maintain Regular Care
Pruning is an essential step in keeping your spider plant healthy. Removing yellow or damaged leaves allows the plant to focus its energy on new growth.
How to Fix It:
- Use clean, sharp scissors to trim yellow or brown leaves at the base, making sure to cut at an angle to promote healing.
- Regularly remove dead or dying leaves to encourage new, healthy growth.
- Wipe the leaves with a damp cloth occasionally to remove dust, which can hinder photosynthesis.
- Rotate the pot every few weeks to ensure even light distribution and prevent one-sided growth.
- Repot every 2-3 years to refresh the soil and provide ample space for growth, especially if the roots have become root-bound.